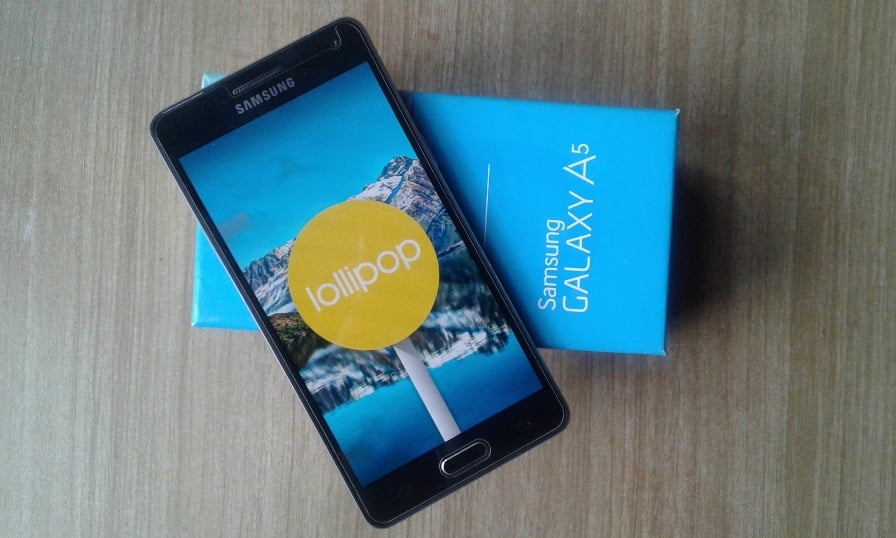
Samsung has released the Android 5.0.2 update officially for Galaxy A5. The OTA is available in some regions only but we can install it even when the region doesn’t match. We should only match the model number and then we can upgrade. If you are interested, it is our simple Samsung Galaxy A5 Android Lollipop firmware flashing process. By the way, this won’t void the warranty as the firmware is signed by Samsung. Many other Samsung phones are also getting the Lollipop update. You can wait for the OTA rollout or just flash a matching firmware by following this guide.
First of all, you should check the model number of your Samsung Galaxy A5 by going to ‘Settings’. Then go to “About Device” for more information. There you will see the model number. Ours is SM-A500H and it can be any number or combination for you. There are models like SM-A5000, A500F, A500FU, etc. Just make sure you are correct about that number. Don’t ever flash the firmware of a different model because that can brick the phone. Samsung smartphones have different hardware and software according to region so it can cause huge issues.
There are a few things we want to tell you before you proceed. Make sure your phone is charged above 50%. For the best case, charge the phone to 100%. Flash your phone using a laptop instead of a desktop. In the case of power loss, the laptop can continue with the flashing process. Use good quality data cables for flashing. Some people use old low-quality cables and they get loose in the process which can brick the phone. After making sure of everything, follow the below-given steps.
Galaxy A5 Android Lollipop Firmware Flashing Process
- Download the Correct Firmware: After making sure of the device number, go to the Sammobile website’s firmware section to download the image.
- Check and Download: Check your model number from About Device and then download the correct firmware for it. Try to choose the image of a country that is near to you or a language you know. Always select an image that matches your model number.
- Download Odin: Latest versions are available on Sammobile’s website.
- Backup your phone’s data: Make sure you have backed up everything from your mobile’s internal storage. It is best to take out the memory card as well. We have made a complete checklist of things to take care of before upgrading a phone.
- Open Odin Mode: Turn off your phone and press Volume Down + Home Button + Power Button at the same time to open Odin mode.
- Start the flashing: Connect USB Cable to your phone and computer. Then Open Odin on your PC and select the firmware file by clicking on “AP”.
- Let the work complete: Press start and let the work be completed. It takes about 5 minutes to install but other processes and the first startup can take longer than 10 minutes. Follow the steps mentioned in our video to get a more clear idea.
After the process is completed, a message appears saying “Pass”. The device will restart and it will start optimizing your phone.
Advice, Experience, and RollBack
A New Android OS update is always good because of positive upgrades. However, we have noticed that even after updating your phone with the firmware of your own country, OTA doesn’t come. Now we have to flash a new update each time. So, if possible wait for the FOTA rollout. Flash new firmware only if you are sure and can commit to this process. This is what we don’t like about this flashing process. However, this is one benefit for people who want to stop forced OTA updates.
Many times people might need to go back to an older OS. This can be tricky and it was hard for us as well. For this follow the above-mentioned steps but with a few extra steps. Download an older firmware but before flashing do a full factory reset and perform a hard reset with the cache partition clean. For that turn off your phone and press the Volume Up, Home, and Power buttons at the same time.
After flashing, again clean the cache partition and do the reset. This solved our problem else was also stuck in boot animation. However, the downgrade may not be possible if there is a change in the binary. So, read about current firmware and downgrade capability as well.
Also Read: Samsung Galaxy A7 Price in Nepal, Specs, Features
How to change Country CSC code in Samsung phone using USSD Code
Some firmware allows users to change country CSC code. It is useful and important to change the CSC code if the country doesn’t match in firmware. An international unlocked model has firmware that can be used in many countries. So, if you use such a phone and have flashed an image with a different default country, then you should change the code. Also when traveling and if changing your primary SIM card has not changed the region, then also you can use this process. To change the CSC code of your Samsung phone, follow the below-given steps.
- Find your IMEI number/numbers in case of a dual SIM model.
- Then go to dial pad and dial *#272*IMEI Number#. For example *#272*123456789101#
- Select the country you like or live in.
Sometimes it is required to have a region match of both the Sales code and CSC code of the purchase country to get your phone serviced in warranty. Samsung service centers only fix phones in the country they were purchased in. For example, service centers of Nepal only fix phones that were bought in Nepal originally.


